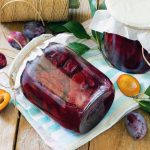
How to Can Plums – A Simple Water Bath Canning Recipe
Canning plums is a great way to preserve the sweet taste of summer in jars. These taste so much better than canned plums from the grocery store. In this guide, we’ll walk you through the simple process of making plum preserves that can elevate your desserts and snacks all year round.
Introduction to Canning Plums
Canning plums is not just a method of preservation; it’s a way to capture the essence of summer in a jar. By canning these fruits, you can enjoy their juicy sweetness long after the harvest season has passed. Plum preserves are versatile, making them a fantastic addition to various recipes.
Whether you spread them on toast, use them in desserts, or incorporate them into savory dishes, canned plums can elevate your culinary creations. The process might seem daunting at first, but with the right steps, you’ll find it rewarding and satisfying.
Gathering Ingredients for Plum Preserves
To get started with canning plums, you’ll need to gather a few essential ingredients:
- Fresh Plums – 5 cups: Choose ripe, mature fruit of ideal quality for the best results
- Sugar – 4 cups: Granulated sugar is typically used, but you can adjust the amount based on your sweetness preference.
- Water – 1 cup: Plain water helps to create the syrup for your preserves.
- Canning Jars: Ensure they are clean and sterilized before use.
- Lids and Rings: These are essential for sealing your jars properly.
Having everything ready before you start will streamline the canning process, making it more enjoyable and efficient.
Preparing the Plums
Preparing plums for canning is fairly simple. Begin by washing the whole plums thoroughly to remove any dirt or residue. Once clean, it’s time to pit and halve them. This is a straightforward task. Simply cut each plum in half and twist to separate the two sides. Remove the pit and place the halved raw plums in a large pot. There’s no need to chop them into smaller pieces; halving is sufficient.
As you prepare the plums, keep in mind that the quality and ripeness of the fruit will significantly influence the final taste of your preserves.
Mixing Ingredients: Water and Sugar
Once your plums are prepared, it’s time to mix in the other ingredients to make the sugar syrup. Pour one cup of water into the pot with the plums. This step is crucial as it prevents the fruit from scorching during cooking.
Next, add sugar to the mixture. The standard ratio is about four cups of sugar for every five cups of plums, but feel free to adjust this according to your taste preferences. Stir the mixture gently to combine the ingredients. This will make a medium syrup.
Cover saucepan and let it sit for a few minutes to allow the plums to release some of their juices, which will help create a syrupy consistency.
Cooking the Plums: Bringing to a Boil
Now, transfer the pot to the stove and set it over high heat. The goal is to bring the mixture to a rolling boil. Stir occasionally to prevent sticking and ensure even cooking.
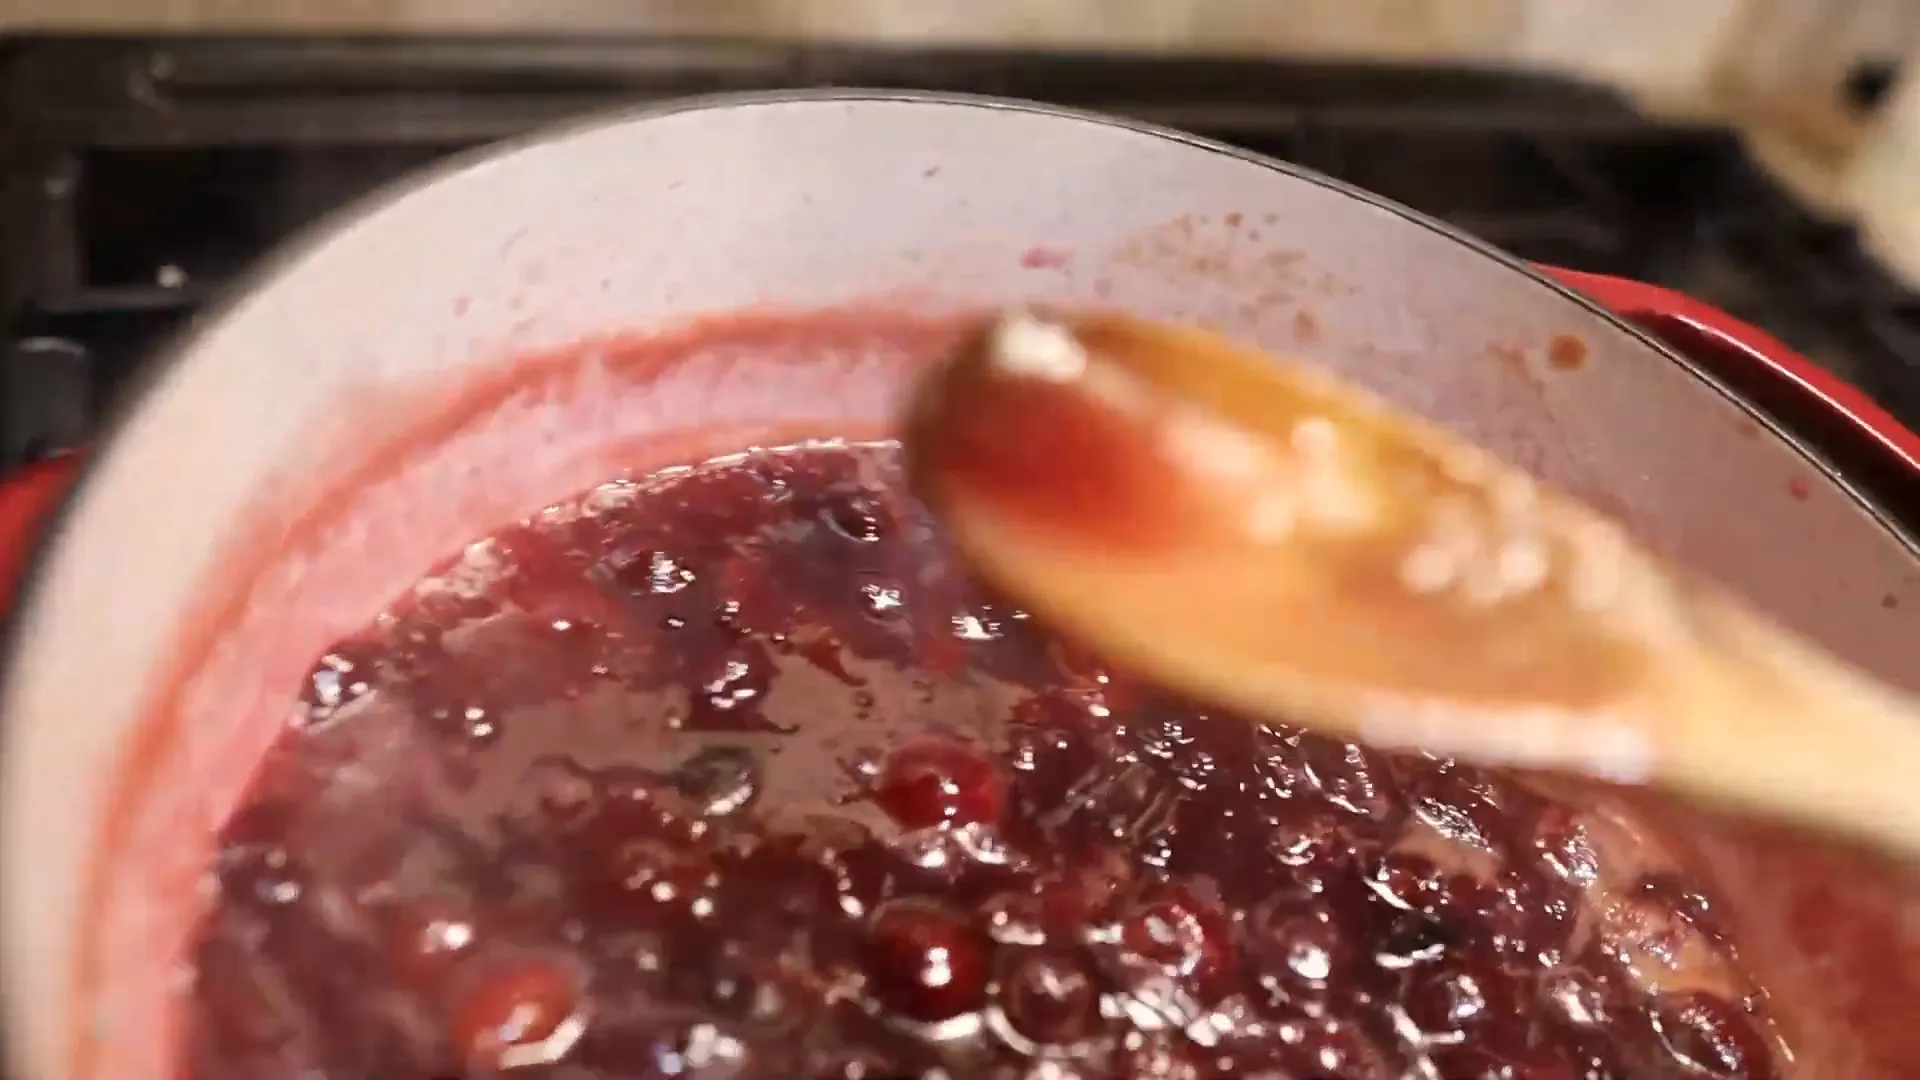
As the mixture heats up, you’ll notice the sugar dissolving and the plums softening. This is the perfect time to perform a gel test. Take a spoonful of the mixture and let it drip off the spoon being careful not to burn yourself with the hot syrup.
If the hot liquid drips quickly, it’s not ready yet. You want it to slide off slowly, indicating that it has reached the desired gelled consistency. Once it reaches this point, remove the pot from the heat.
Performing the Gel Test
After bringing the mixture to a boil, it’s crucial to perform the gel test to ensure your plum preserves are just right. This step is essential for achieving the perfect consistency.
To conduct the gel test, use a clean spoon to scoop up some of the boiling mixture. Allow it to drip back into the pot. If the mixture drips quickly, it hasn’t reached the desired gel stage. However, if it slides off the spoon slowly, you’ve achieved the right gelled consistency.
Once the gel test indicates readiness, remove the pot from the heat. This signifies that your canning plums are ready for the next steps.
Canning Process: Filling the Jars
With the mixture properly gelled, it’s time to fill your canning jars. I used quart jars, but pint jars will work just fine. I prefer wide mouth jars because I find them easier to work with but regular jars are great! Start by ensuring your jars are clean and sterilized, as this is vital for safe preservation. Another important thing is to use hot jars since you will be filling them with hot plums, this will ensure the jars won’t break because of temperature differences. This is called hot packing.
Using a ladle, carefully pour the hot plum mixture into the jars, leaving about a half an inch headspace at the top of the jar. This space is important for the expansion of the contents during processing. Use a handy dandy canning headspace tool or plastic knife to remove air bubbles.
As you fill each jar, make sure to include a good balance of plums and syrup for optimal flavor. Once filled, it’s essential to wipe down the rim of the jar with a clean, damp cloth. This ensures a proper seal. Add the lids and the screw bands twisting them a little more than finger tight.

Water Bath Canning Method
The hot water bath canning method is an effective way to preserve your plum preserves. There is no need to use a pressure canner because of the high acidity. Start by placing your filled jars into the water bath canner, ensuring they are upright and not touching each other.
Fill the canner with warm water and cover jars by at least two inches. This prevents the jars from breaking when heated. Place the canner lid on top and then turn the heat to high and bring the water to a full rolling boil. Processing time the quart jars is 15 minutes in the boiling water canner. Process pints for at least 10 minutes. This time is crucial for killing any bacteria and sealing the jars properly.
Finishing Touches: Siphoning Prevention
To avoid siphoning, which is the loss of liquid from your jars during the cooling process, patience is key. Allow the jars to sit in the hot water for a few minutes after processing.
After the five-minute wait, carefully remove the jars from the canner using a jar lifter. Place them on a clean kitchen towel or cooling rack, ensuring they aren’t touching each other. This allows them to cool evenly to room temperature.
As the jars cool, you’ll hear the satisfying “pop” sound of the lids sealing. This is a good sign that your plum preserves are properly sealed and ready for storage.
Conclusion: Enjoying Your Plum Preserves
Congratulations on successfully canning plums! Your homemade plum preserves can now be enjoyed in various ways. Spread them on toast, use them in desserts, or even pair them with savory dishes.
Store your sealed jars in a cool, dark place. They should last for up to a year, providing you with a taste of summer throughout the colder months.
Remember, canning plums is not just about preservation; it’s about creating delicious memories. Enjoy your preserves and the satisfaction of your canning journey!
This post may contain affiliate links.
PrintCanned Plums
These canned plums are a delicious treat ready for pies, crumbles, or simply spreading on toast!
- Prep Time: 30 minutes
- Cook Time: 15 minutes
- Total Time: 45 minutes
- Category: Canning
Ingredients
- 5 cups of pitted and halved plums
- 4 cups of granulated sugar
- 1 cup of water
Instructions
- Start by washing your plums thoroughly. Next, cut them in half and remove the pits. You don’t need to chop them into small pieces; halving them is sufficient.
- Once your plums are ready, place them in a large pot.
- Pour in 1 cup of water and then add the sugar.
- Now, place the pot on the stove over high heat. Bring the mixture to a boil, stirring occasionally to help dissolve the sugar. It’s important to monitor the mixture closely to prevent it from scorching.
- After boiling for a while, you’ll want to perform a gel test. Take a spoonful of the mixture and let it cool slightly. If it drips quickly off the spoon, it’s not ready. You want it to stick and slide off slowly, indicating that it has reached the desired gel consistency.
- Once your mixture has gelled properly, it’s time to can it. Start by preparing your jars. Ensure they are clean and sanitized. Fill each jar with the hot plum mixture, leaving about ¼ inch of headspace at the top.
- Wipe the rims of the jars to remove any residue that might prevent proper sealing.
- After filling the jars, place the lids on top and screw on the rings until they are fingertip tight.
- Place the jars in the water bath canner with warm water, ensuring that the water covers them by at least a couple of inches. Turn the heat on high and bring the water to a rolling boil. Process the jars for 15 minutes (for quart jars).
- After this time, turn off the heat and remove the lid from the canner, allowing the jars to sit for an additional 5 minutes before removing them. This helps to prevent siphoning, where the liquid can escape from the jars.
- Once your jars have cooled, check the seals by pressing down in the center of each lid. If it doesn’t pop back, the jar is sealed properly. Store your sealed jars in a cool, dark place.


